CP910 full-angle codeless photo (small series strongly requested Â
Â
)
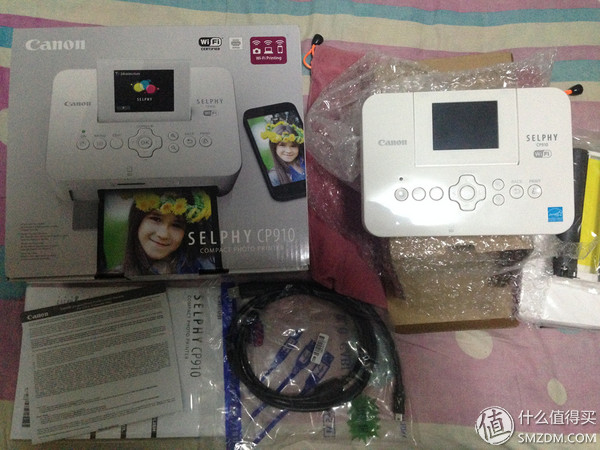


Hello, everyone, I was drying Canon CP910 portable wireless photo printer today. The original intention of buying it was to print the photos conveniently and send them to my parents. Since I had digital products, convenient storage made me prefer to store photos on my computer. Very (ji) less (hu) does not print into photos, while the parents are still more inclined to the traditional photo form, so that it seems more convenient to collect in the album, so there is (shou) it! (A large amount of printing still saves money outside, "immediate imaging" and it is convenient for privacy reasons
)
When selecting similar products, I first saw the LG PD239. Its compact appearance and convenience made me very fond of it. However, it only supported 3-inch photos that I decisively denied. So the CP910 caught my eye and it can support up to 6 inches. Photos, and LG are more than portable, but the chubby fuselage instantly blew me up, and support for WIFI printing is enough for me.
Well, not much nonsense, began to enter the topic. The following is mainly introduced: assembly, set the Chinese language, print photos and photos by WIFI comparison.
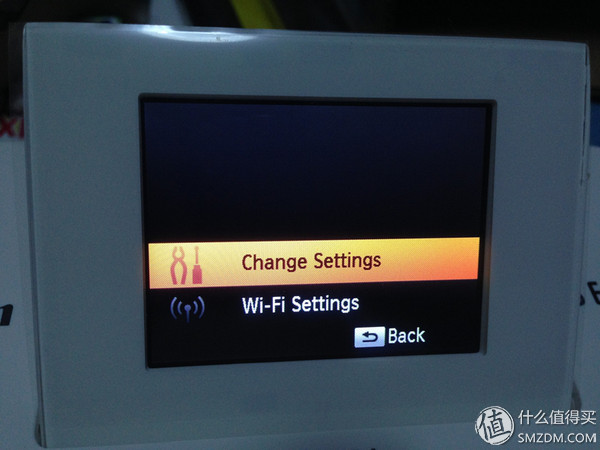
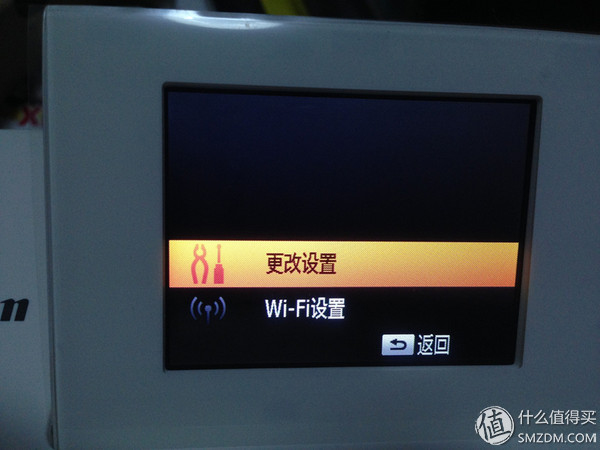
1) Assembly
Open the box, see a pile of things stupid, how to install? US version of the manual does not understand
CP910 Chinese Online Manual: http://wenku.baidu.com/link?url=VQbwTpzS0_R2fImYeC4YWYYEQmKFaRKN5_MKau2lNdePgdTAOb63Hz2Y7dLKS_LIqb7x70rcxhaGR75hctElkmEhmCPgfZD64hHcThPYpBW
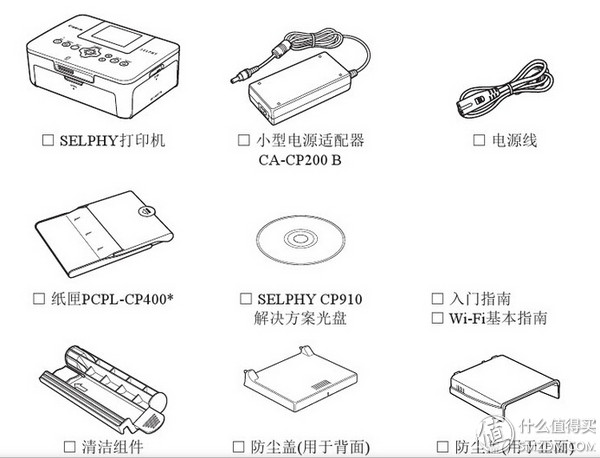
The box contains the following items: “Clean components†and “Dust cover†look like only the Bank of China. My US version has (Solution to China's air pollution solution?) The “paper basket†is a photo paper. The CD is a driver. It is connected to a computer like a data cable. In fact, there are five sample photo papers and ribbons.
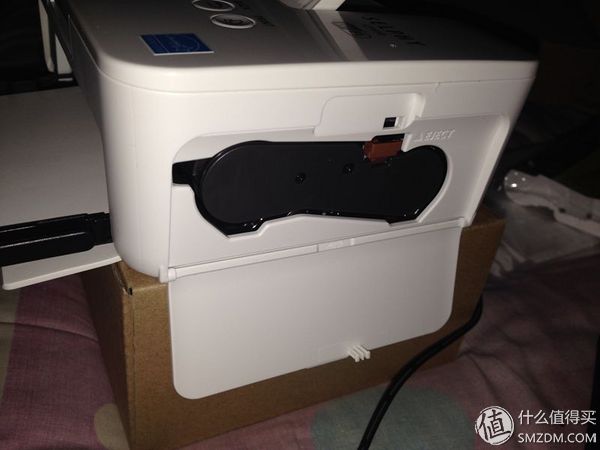
The following figure is a functional description, mainly "ribbons" placed in the cartridge slot, paper baskets in the paper slot, I do not say power and SD card. 
Well, the physical map below, this is the cartridge slot, if the ribbon is invulnerable, so do not have to go hard, go in and push down the bottom will be "click" a locked
I began to think that the paper basket had been covered. The result was not loaded. Later, it was discovered that it was open. Use the following diagram to open the paper tray and insert it into the paper tray. (If you are prompted to print the paper, it is your paper basket. If it is not right, it's okay to hang it up.

2) Set the language
After measuring time and price, I eventually purchased the Magnum.
Too anxious, received the goods on the fiery demolition, the first time no experience, the next time to take pictures

Since I bought the U.S. version, I came across an "unfamiliar script," choose the first one and click "OK".
Ignore these and continue to press "Up"

Click "OK" again
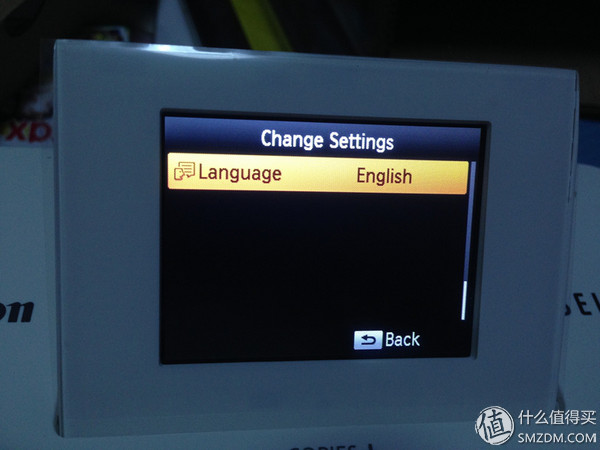
Finally I saw the familiar text, press "right" to select "Simplified Chinese" and click "OK"

There is a moment that wood becomes the feeling of "the country".
Well, this is just the beginning of the story....
3) Print photos via WIFI
This cute (CP910 ) The following printing methods are provided: Data cable is connected to the computer (like traditional printers), wireless printing and SD card printing (need to copy photos to SD card first, then select photos and print via “Nostalgic†screen), then Let's introduce the wireless printing method. Wireless connection offers two ways: 1) Connect this cute thing to WIFI in your home and instantly become a wireless (Local Area Network) printer. 2) Turn on the hotspot mode and you search for WIFI on your phone and connect it
Let me talk about the first one, select Wi-Fi settings, click "OK"
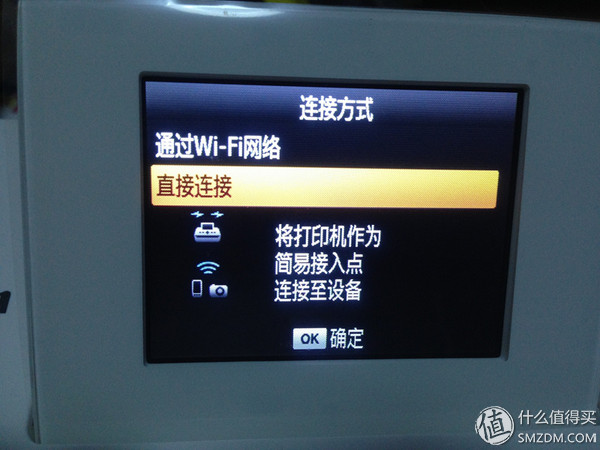
Select "Connection Method" and click "OK"

Select "via Wi-Fi network", click "OK"
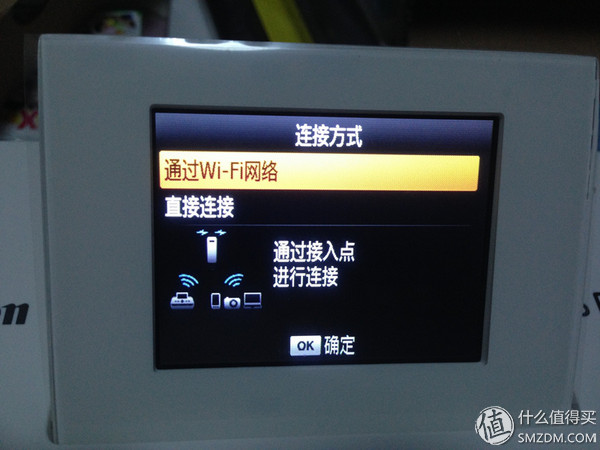
Then there are three ways
1) The WPS connection does not require a password (for use with a router). Select WPS connection point "OK", this time the WPS light on the router will flash, then click the WPS button on the router can be directly connected without inputting a password.
2) Search for the access point, as the name suggests to find nearby WIFI, usually select this, then select the one you want to connect, and finally enter the password.
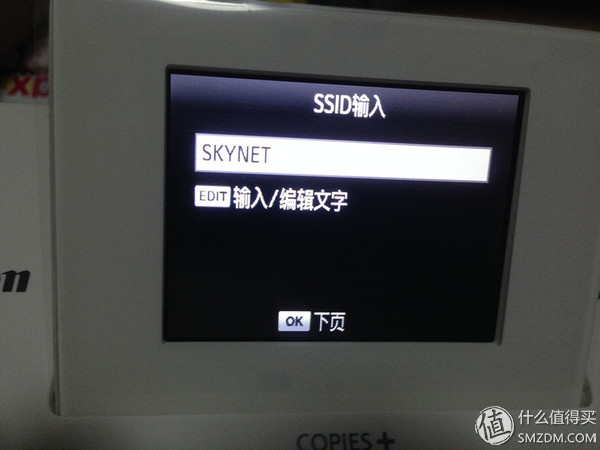
3) If your home's SSID number is set to not show (my is ) Then search it, you can only manually input, then demonstrate this.

Click "Edit" and enter the SSID number of your home, then click "OK" to return, again "OK" to go to the next page
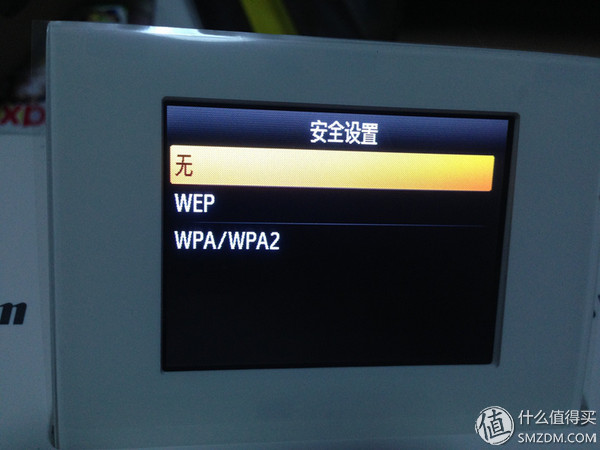
Here is your home WIFI wireless security settings, which encryption method (if you do not know you can look at the router settings)
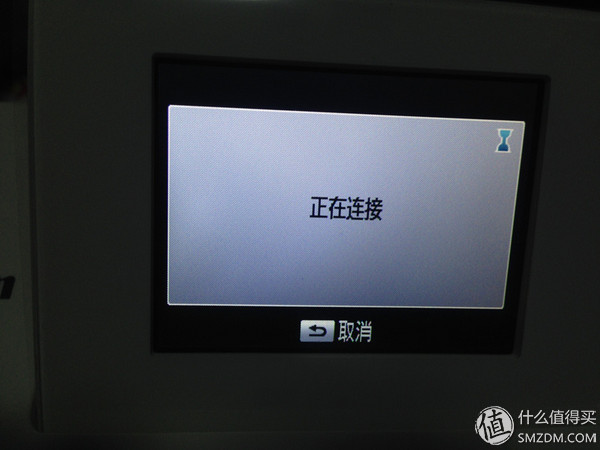
Please wait a few seconds....
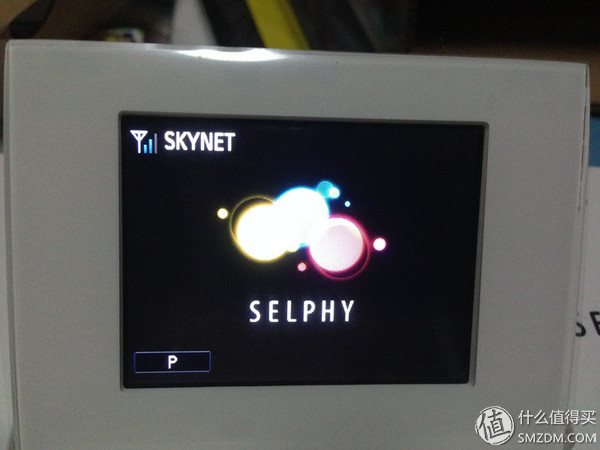
Successfully accomplished

The upper left corner of the sign did not see ~ The most difficult part has finally passed
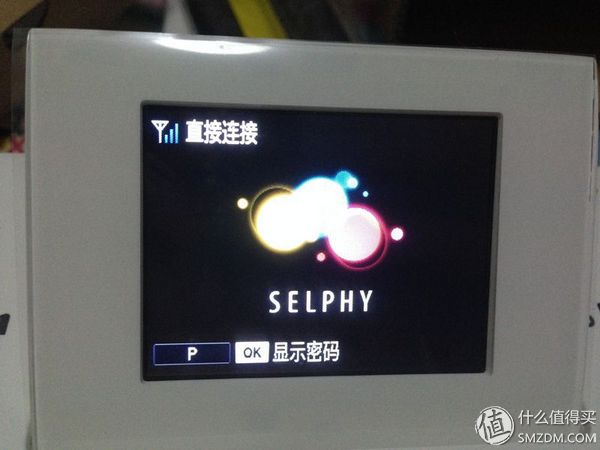
(Back to the top) Say the second, select "Direct connection" and click "OK"
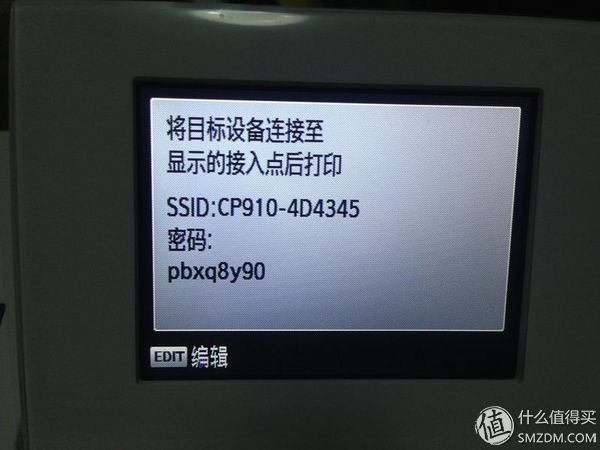
Wait a moment, you can see the following information, take out the phone to connect it ~ ~ ~
The upper left corner of the sign did not see ~ The most difficult part has finally passed
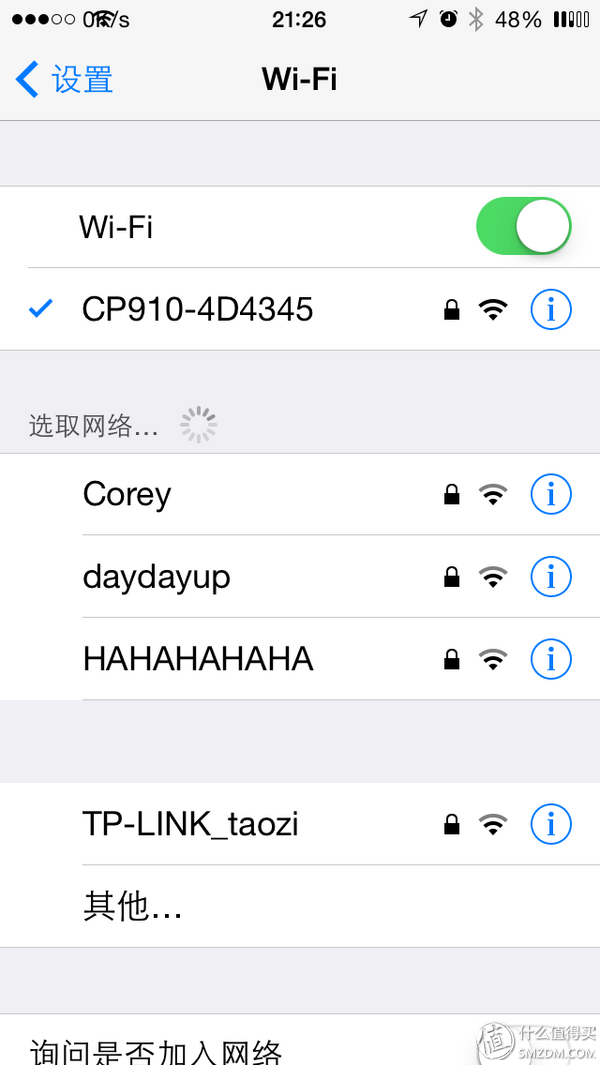
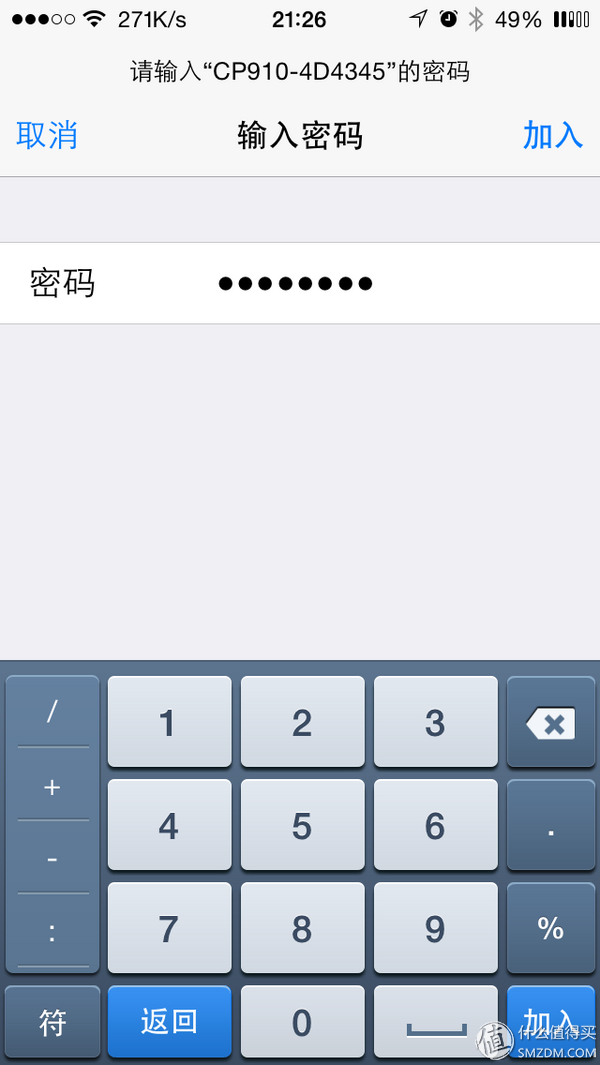
Then connect to the hotspot and find "CP910-4D4345" from the search
Then enter the above suggested password, then you can print!
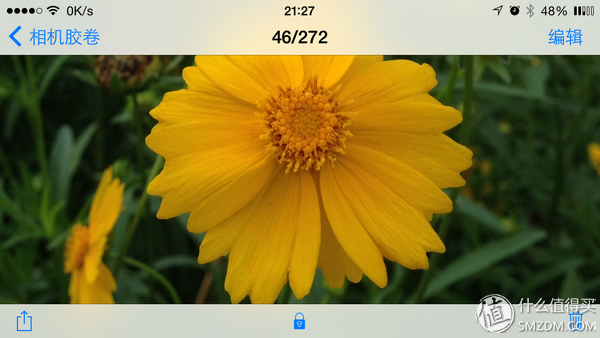
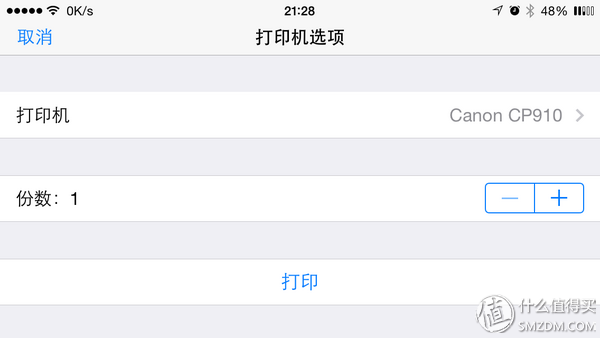
Let's demonstrate how to print photos wirelessly from your mobile phone. Select the photos first. Click on the pop-up menu in the lower left corner.
Select the last "print"

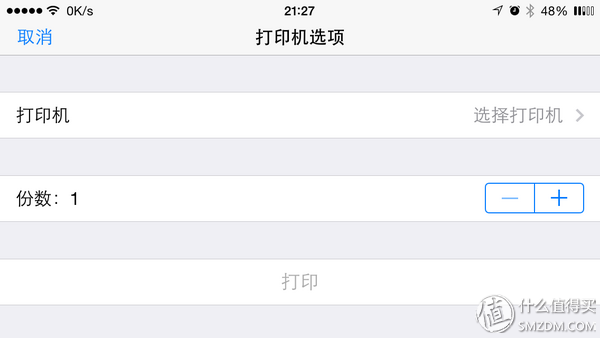
At this point no printer has been selected, click "Select Printer"
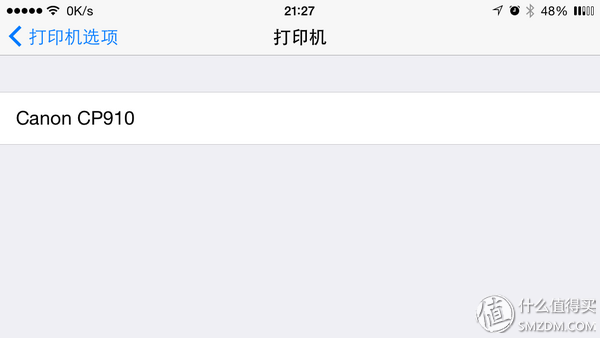
Wait a moment to see the "Canon CP910" and click it!
At this point the printer is selected, then click "Print"
Then enter the "burn money" mode...

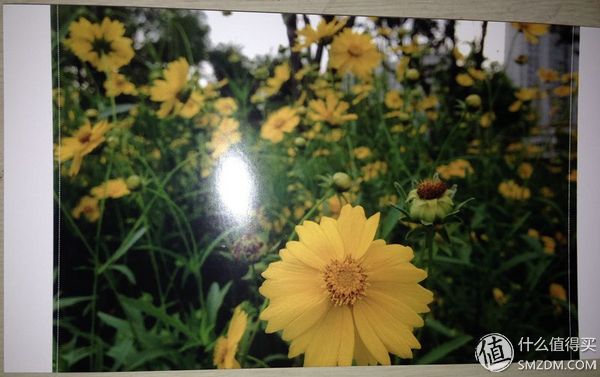
4) Comparison of photo proofs
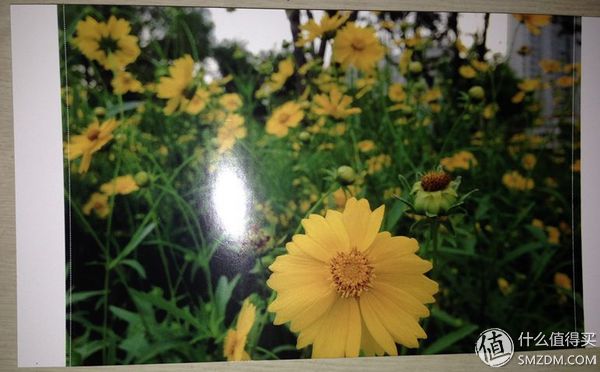
After the print test, I noticed that the printed photos were obviously dark (I wonder if everyone did it, or did they each have their own characteristics?) After adjusting for "My Colors" and "Brightness," they improved. , everyone commented on it. (above )
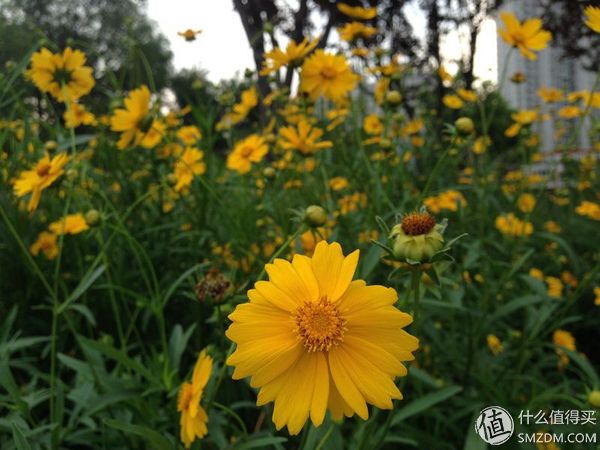
The first is the original
The following is the general mode, there is no change to the printer settings, due to the role of the flash, the following figure is brighter than the actual photo
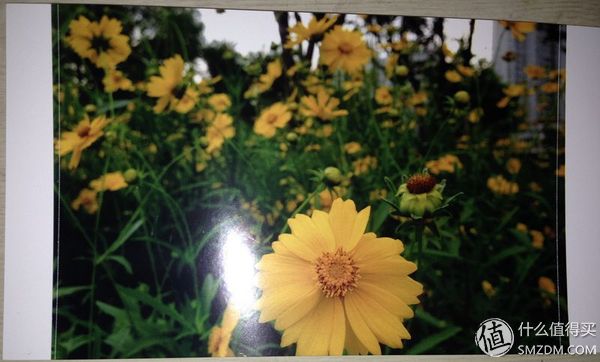
The following is the setting of "Vivid mode", the picture color is rich, but the brightness of the wood has changed
The following picture shows the setting of "Vivid mode" and "Brightness +3". The apparent overexposure and the brightness are distorted.

The last one is to set the "positive film mode" and "brightness +1", feel the lack of color and brightness, it seems that "bright mode" and "brightness +2" is exactly
At the end: I would like to try one by one, but only 5 proofs, formal paper is not willing to use , so the film is here, I hope to help the friend
experience feelings
The appearance of small and beautiful appearance is very portable, simple and smooth operation is very comfortable, good quality is very satisfactory, photo paper supplies are expensive and very prosperous
“Touched often, you deserve itâ€
Ps: Change the mode of operation is: Change the setting - My Color - (Press right) to select "Vivid Mode". For the first time, there was a lot of deficiencies, and I would also like to give you a lot of excuse. If there is any deficiency, please point it out directly. This will be the driving force for my growth. thank you all!